~Treat Box Tutorial~
January 9th, 2009 by Holly McMillen
Good afternoon~
Ok, so I am at it again. I promised I would get these tutorials written and today is the day, as you can see!
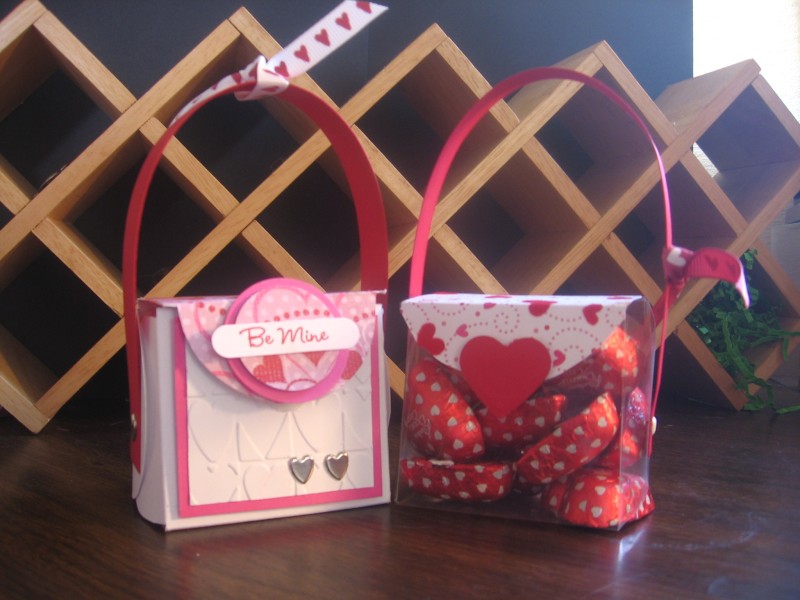
Next we are doing the Acetate Treat Box seen here:
******CLICK ON PICS TO ENLARGE THEM******
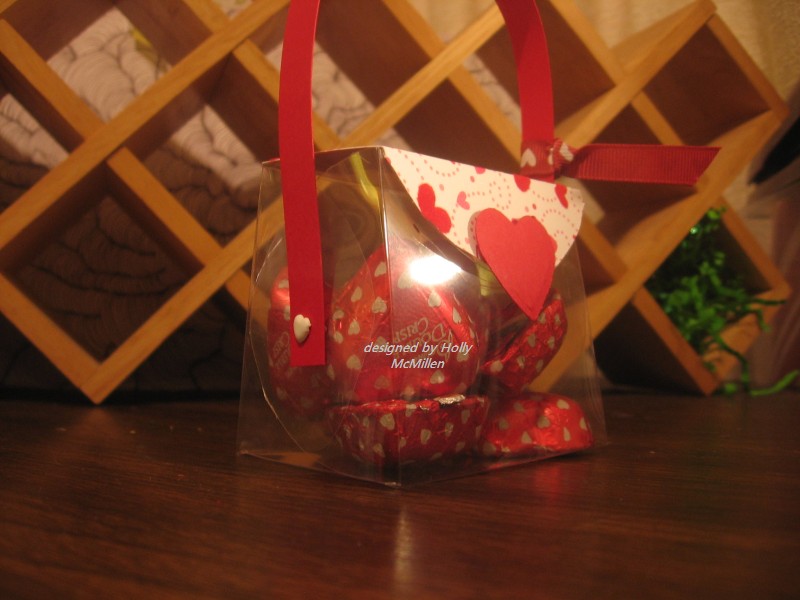
I am going to do it with regular cardstock for this tutorial, however, as it is so difficult to see when trying to photograph acetate. All instructions are the same for the acetate!
Supplies needed:
Acetate (or cardstock) measuring 9 3/4″ x 6 3/4″
Designer paper 2 3/4″ x 2 3/4″
Coordinating cardstock 11″ x 1″ (for handle)
Large circle punch (I used a 2 3/8″ punch)
Xacto knife
brads
sticky tape
hole punch
closure mechanism (I used a velcro dot)
Stamps and cardstock to decorate
Ribbon
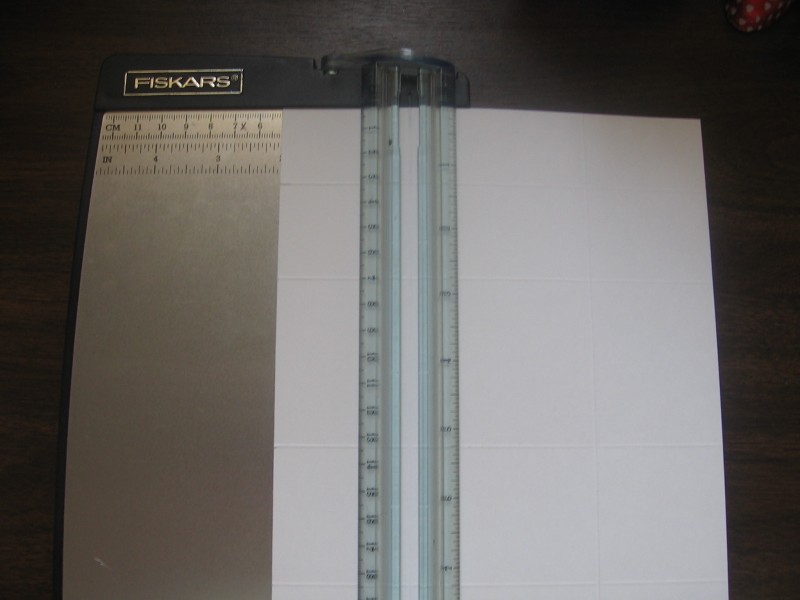 Score your acetate/cardstock along the 9 3/4″ side at 2 1/2″, 4 1/2″, 7″, and 8 1/2″
Turn and score along the 6 3/4″ side at 2″ and 4 3/4″
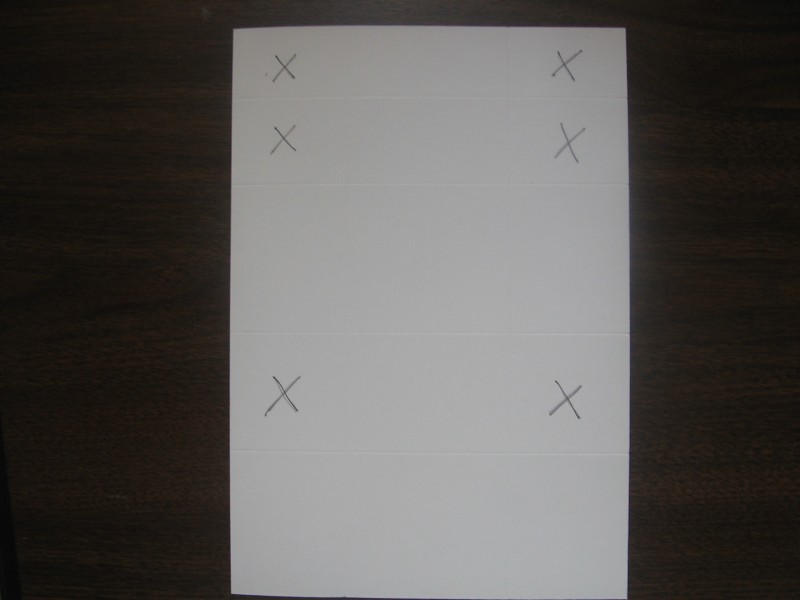 Cut out the pieces shown in the picture marked with an X.
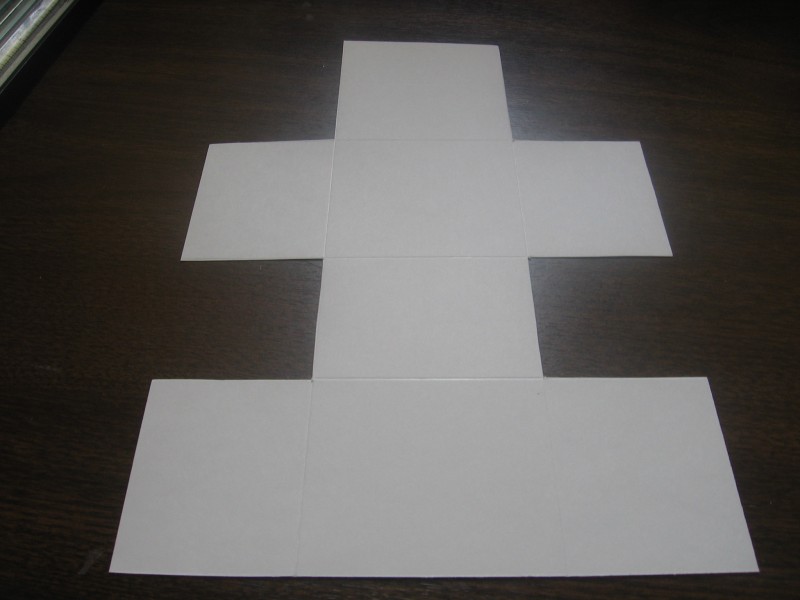 Your piece should look like this.
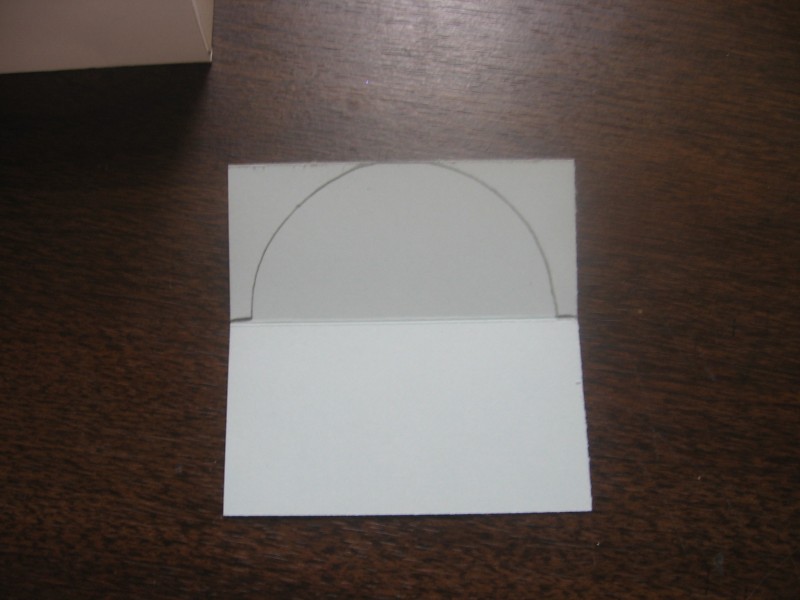
 Punch a circle with your large circle punch (this will be used as a pattern). Line it up on the first tab and trace around it with a pencil (cardstock) or pen (acetate). Repeat this on all four of the tabs. Using your xacto knife, carefully cut out the traced 1/2 circles. Repeat this same step on the top flap.
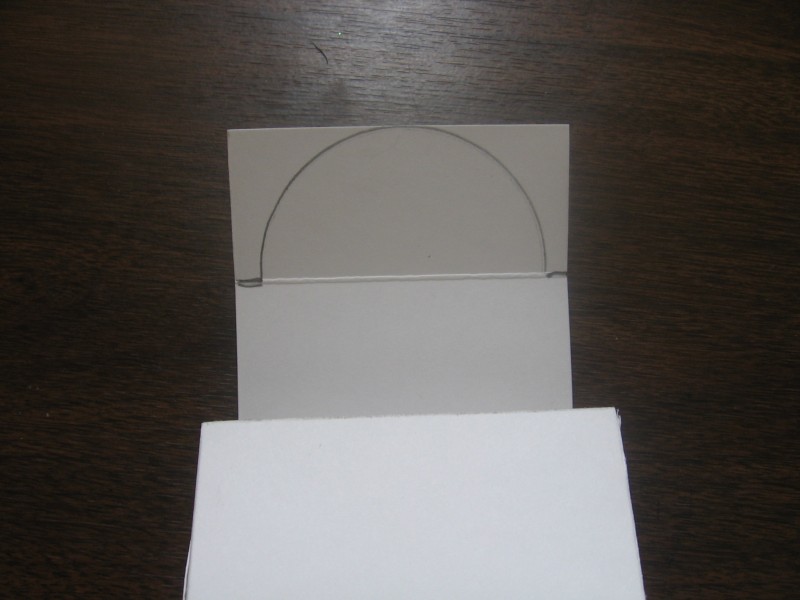
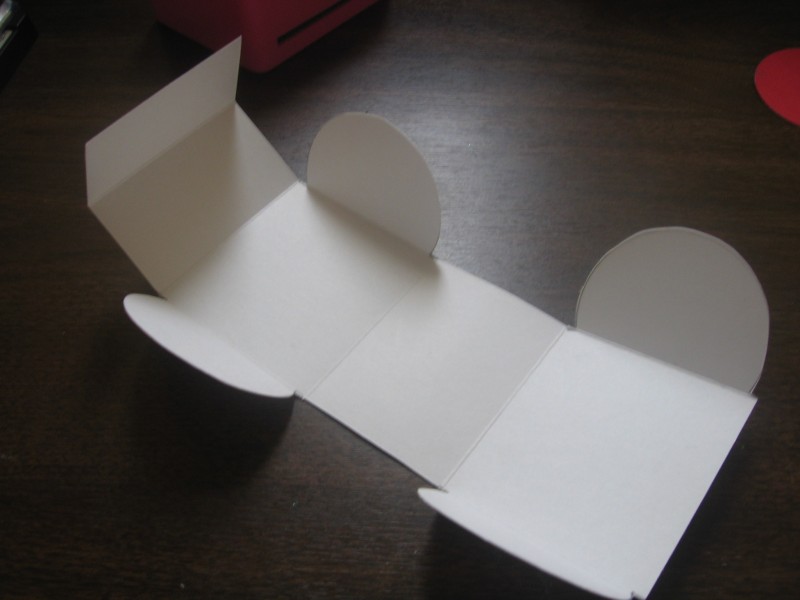 Your piece should look like this.
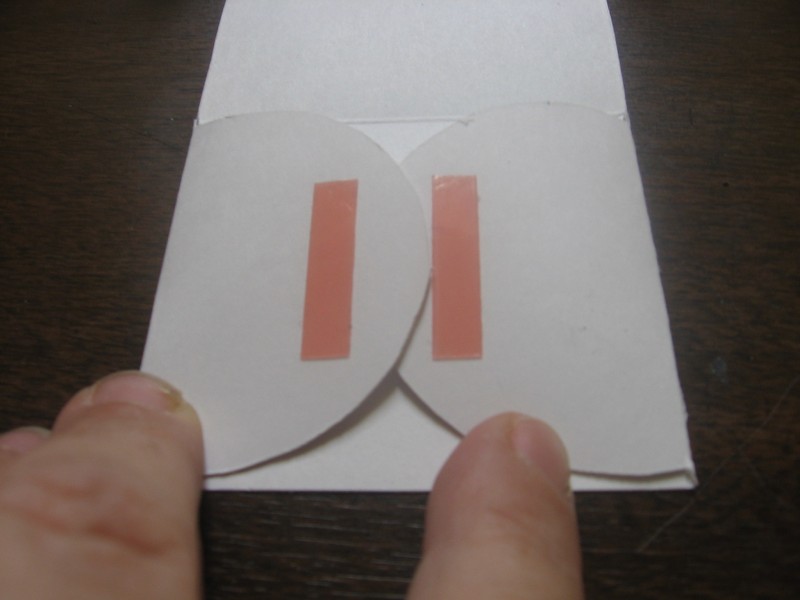 Apply sticky tape to the bottom tabs as shown and fold your box into shape.
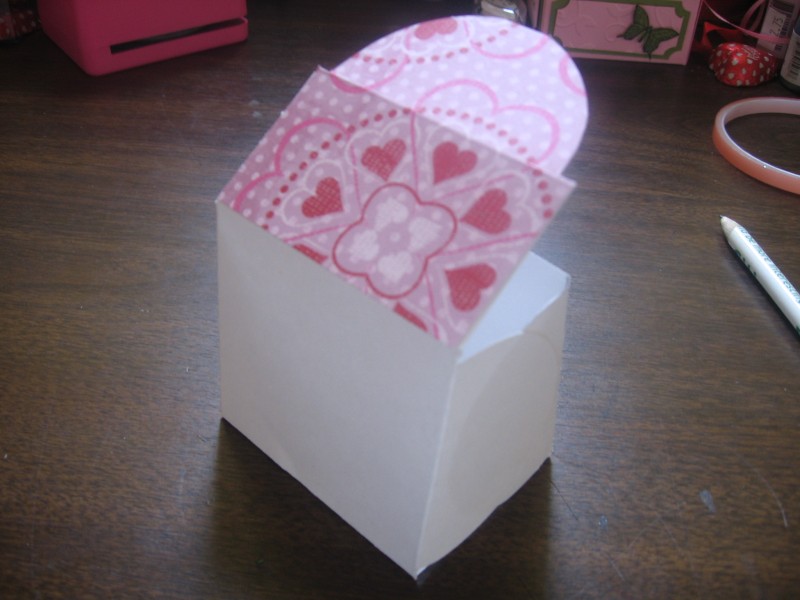
 Score your 2 3/4″ square designer paper at 1 1/2″. Using the same circle pattern, trace the /2 circle onto the back of your designer paper and cut out as done in previous step. Apply the designer paper to the box lid with adhesive.
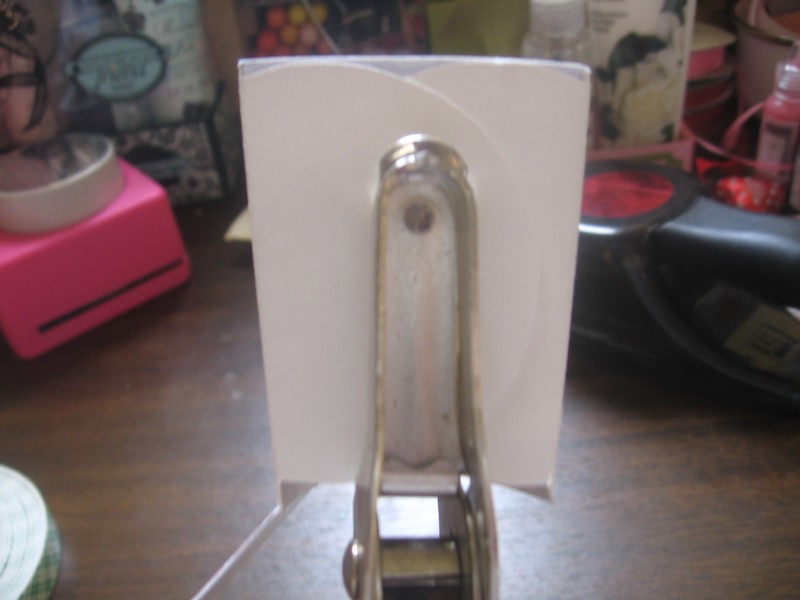 Using a hole punch, punch holes in the sides of your box to afix your handle (11″ x 1″ strip of cardstock) using brads.
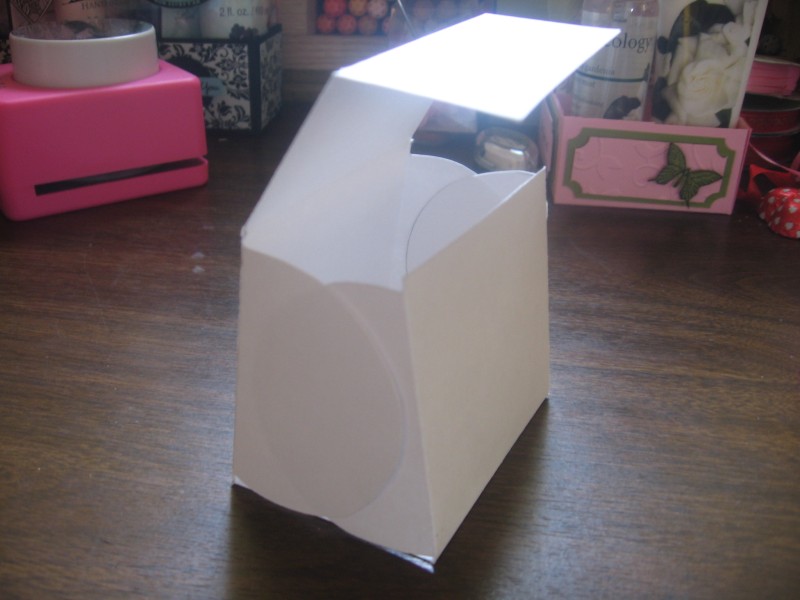
Decorate the front of your box! Voila, you’re done!

NOTE: It is advisable to insert a small piece of cardstock in bottom of the acetate box to ensure sturdiness!
Here are the boxes in both cardstock and acetate:
Hope you have as much fun making these as I did! As always, if you should have any questions on any of these steps, please feel free to e-mail me at [email protected] !
Thanks for visiting…….. have a peaceful day!!


Oh my, Holly!!!! I love these! I may just have to make them for DD’s class for valentines!
This is so adorable!!! Thanks for the tutorial — you’re the best
Thank you for sharing this tutorial Holly…:0) It’s on my list of “to do’s” and that list seems to be getting longer. You rock!!!