~ A Woven Basket with Tutorial ~
March 6th, 2009 by Holly McMillen
Good Morning!
Mandy at Limelight Papercrafts is at it again! She has challenged the design team to come up with an Easter Basket and tutorial for today’s post. Ok, so she did give us some notice on this and I *knew* right away what I wanted to do.
Back when I was a kid, we use to make these baskets for Easter with woven paper and ribbons. I asked my aunts if they could remember how we did them and they came up blank, so I started from scratch. Can’t be too hard, right? Right!! It was actually pretty darn easy!
~~ Remember! All pictures are CLICKABLE to see a larger version 🙂 ~~
Here is what you will need:
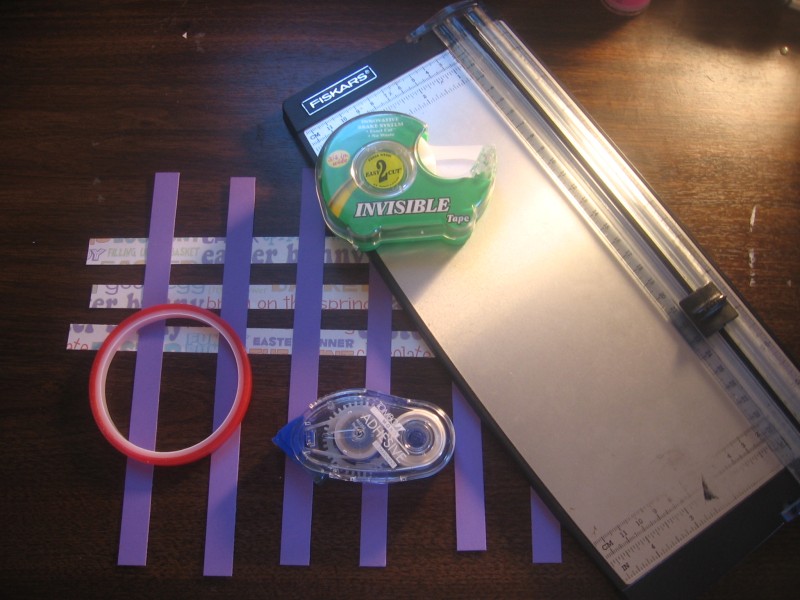
6 strips of cardstock measuring 1/2″ x 9″
3 strips of patterned paper measuring 1/2″ x 12″
1 strip of cardstock (coordinating color) measuring 9″ x 1/2″ (for handle)
sticky strip
scoring blade
scotch tape
ribbon
other items to decorate your basket.
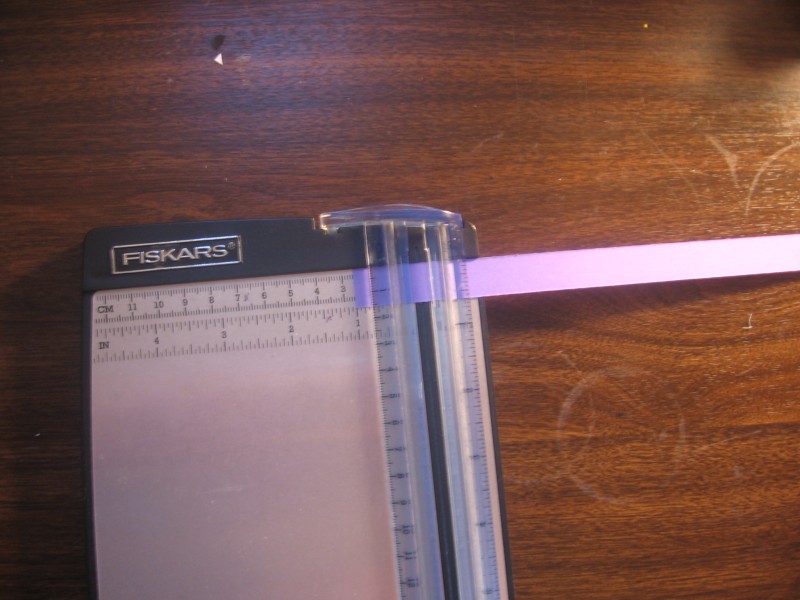
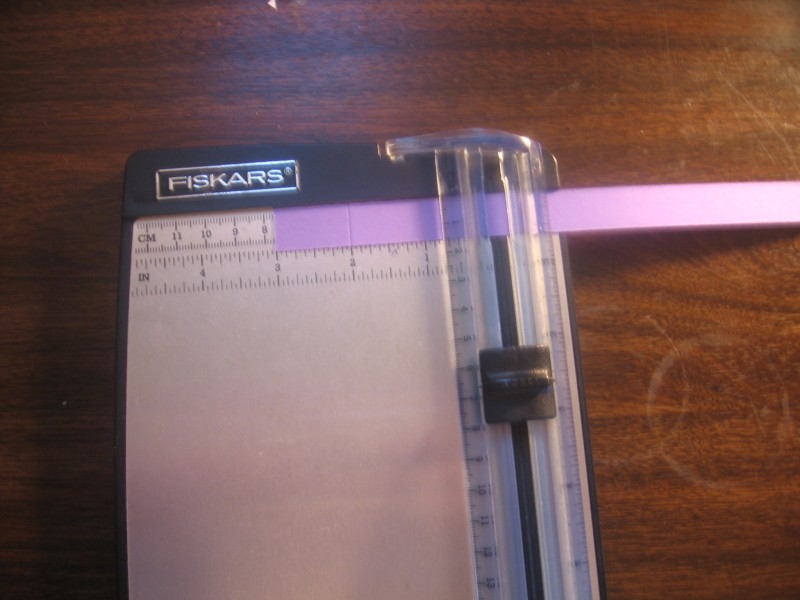
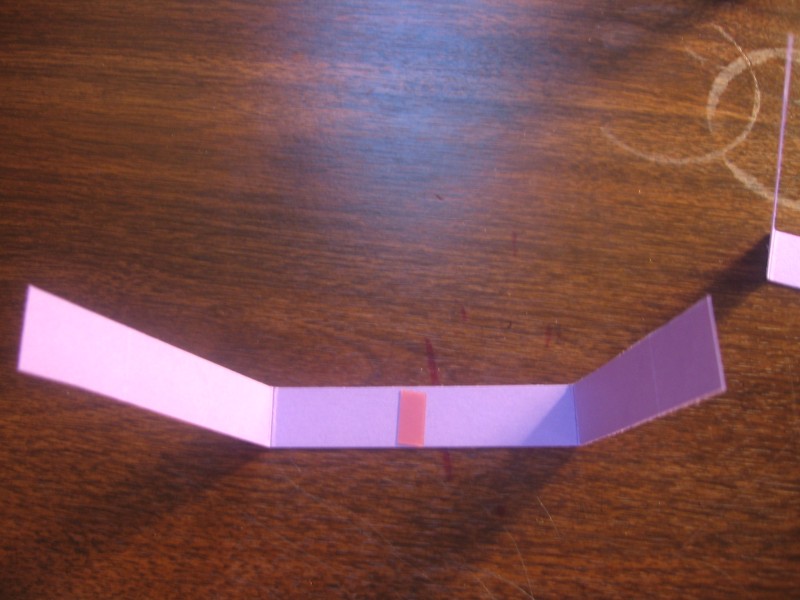
Ok, for the first step, you will take each 1/2″ x 9″ strip of cardstock and score it at 1″, 3″, 6″ & 8″
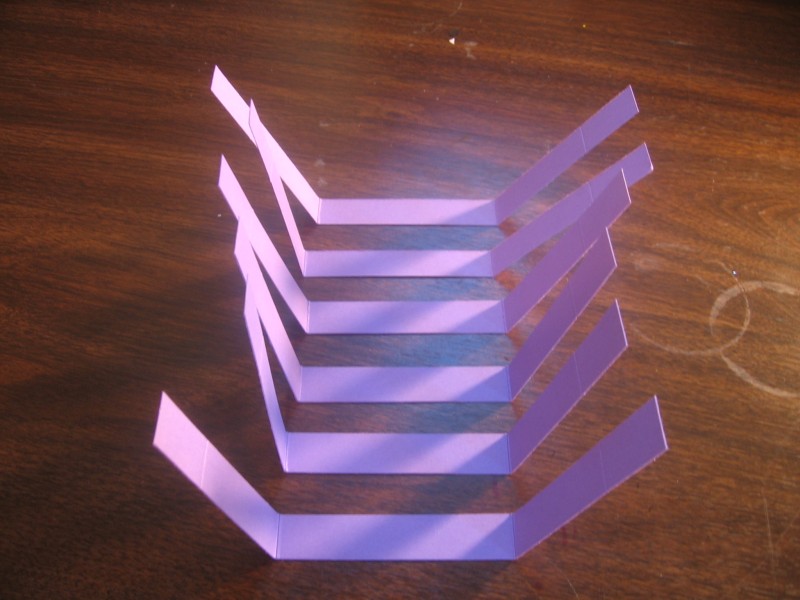
Fold them up at the 3″ and 6″ score marks so they look like this:
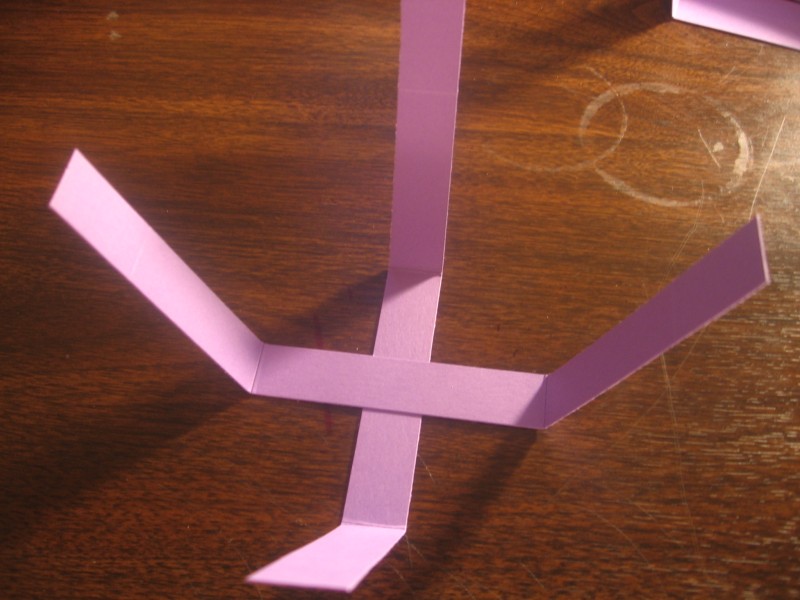
Place a small piece of sticky tape in the center of your first piece. Place a second strip crossways (90 degree angle) on top of that. You have created a cross. Do that with the remaining four strips so that you have THREE crosses like so:
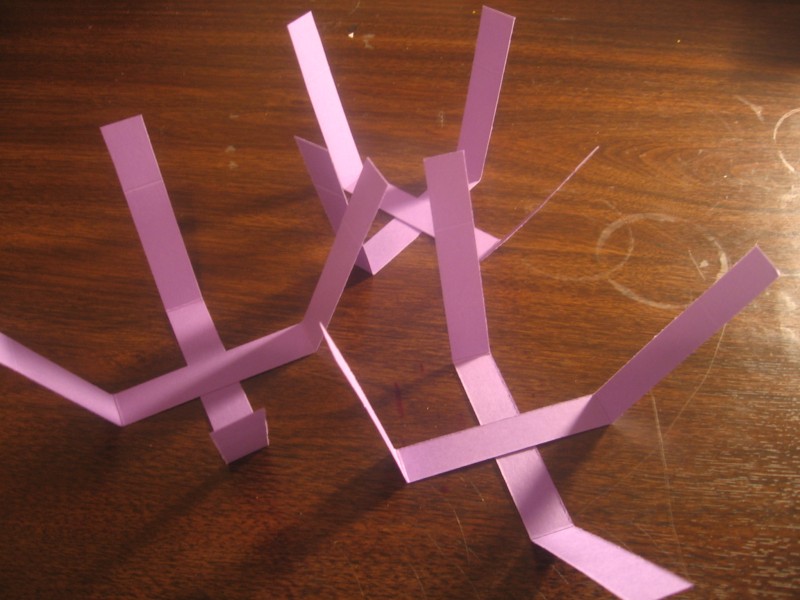
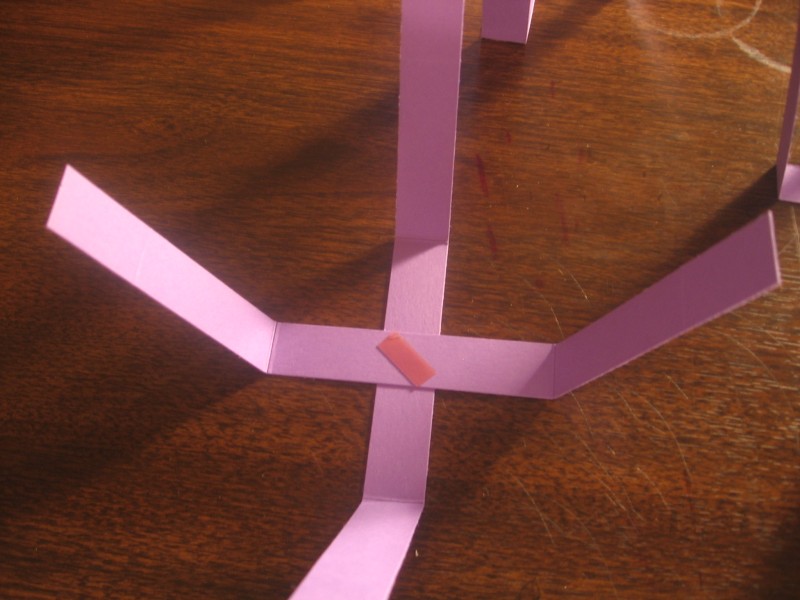
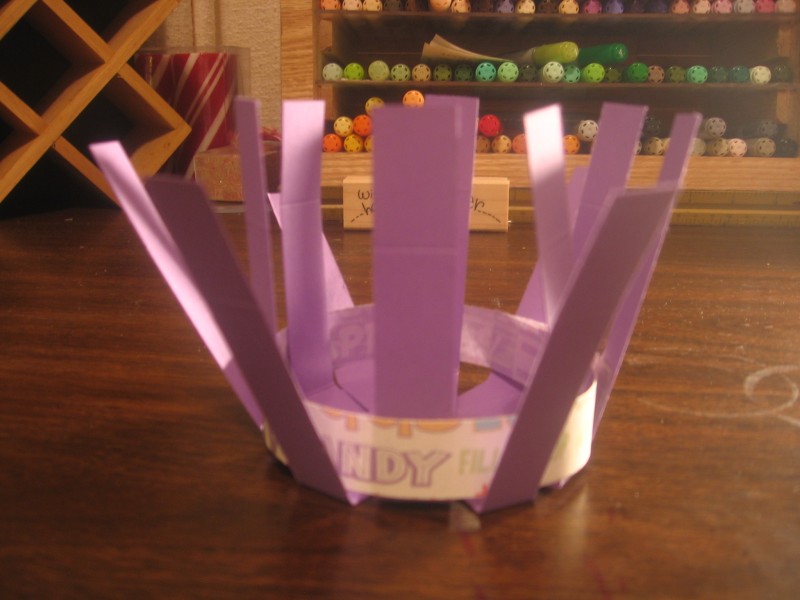
Now you are going to layer them on top of each other to create your basket. Place a small piece of sticky strip in the middle of the first cross. Layer on your second cross and third cross (sticky strip between each layer) so that you have this:

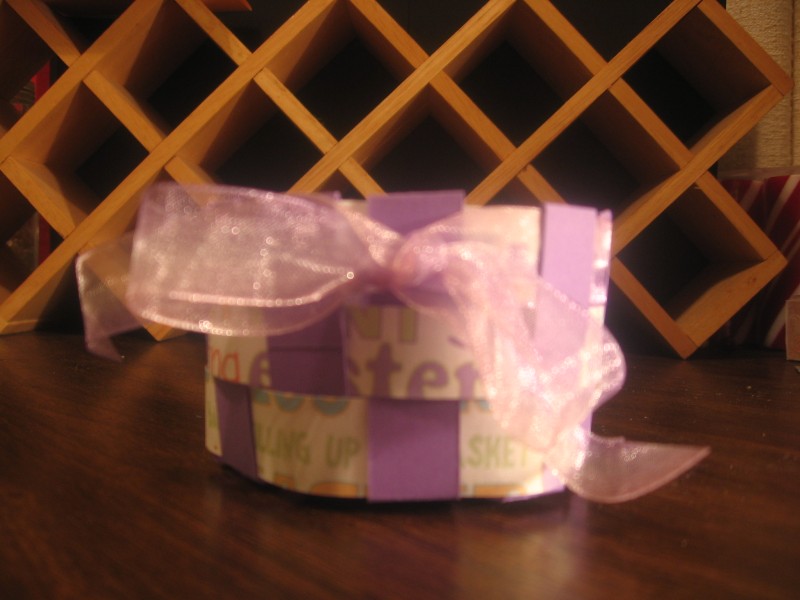
Ok, now on to weaving. Take a piece of your 1/2″ x 12″ patterned paper and place a small piece of sticky strip on the end. Attach it to the INSIDE of one of your basket “posts” and then weave it in and out of the basket until the ends meet. ***You will need to pull the strip tight and make sure your strip is snug against the bottom of your basket** Continue this process with the two remaining pieces of patterened paper.


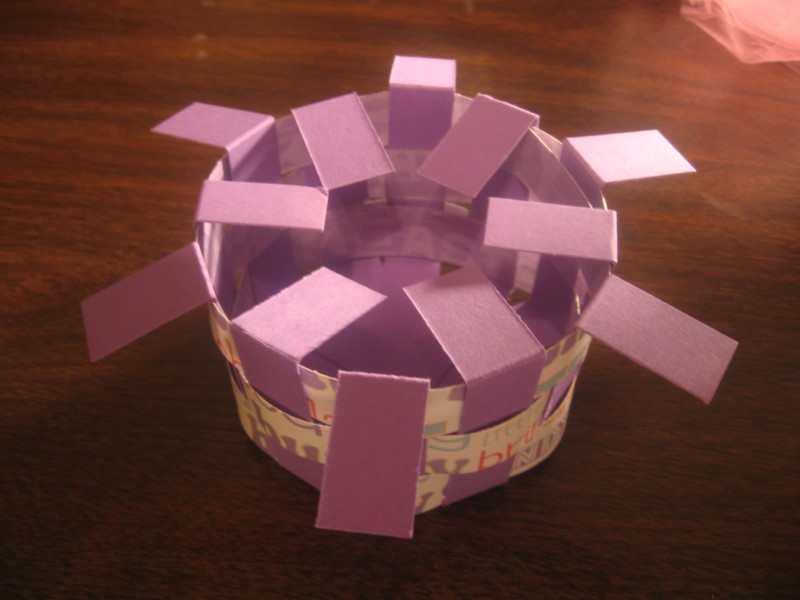
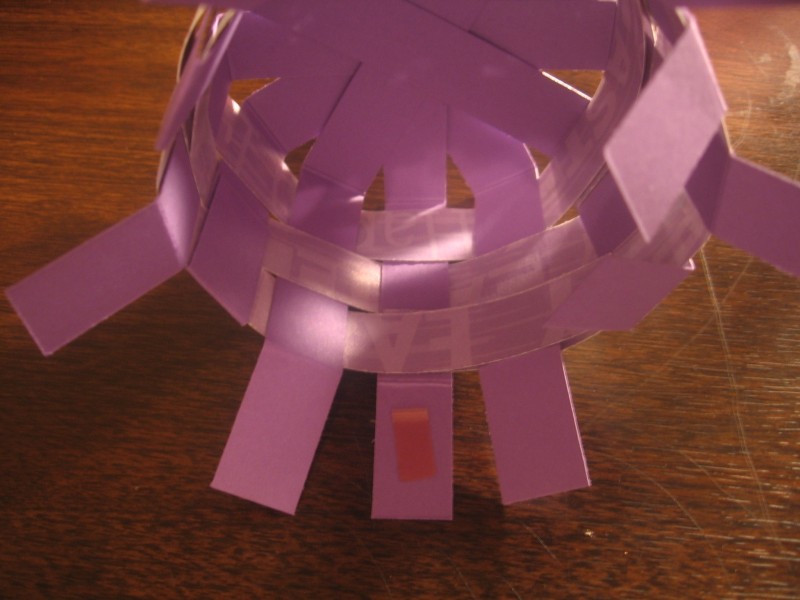
Now, what about those 1″ tabs at the top?! Ok, those are going to be used to strengthen your creation. Taking every other one, you will bend either IN towards the middle or OUT towards the outside of your basket. Each tab will need a small piece of sticky strip to hold it in place. I do the inside ones first, leaving the outside ones unattached until I add my ribbon. That also helps secure the ribbon in place!


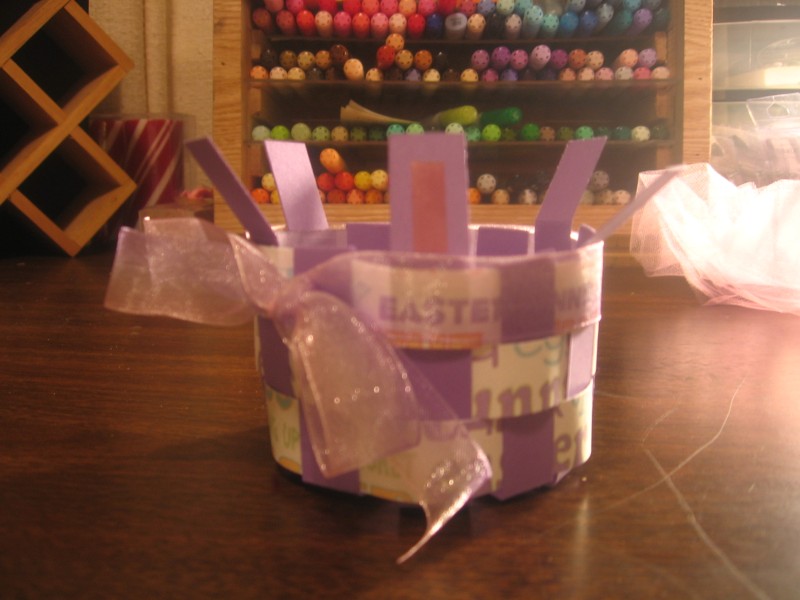
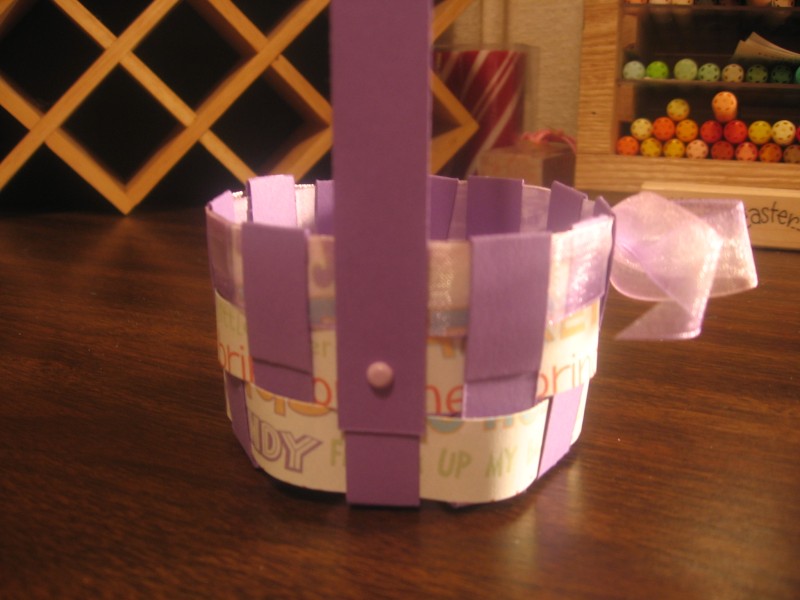
To add the handle… punch holes in the side of the basket with a hole punch and then punch holes in your handle and attach with brads. Another option that would be awesome is to sew the handle on with buttons! I wanted to do that with mine, but did not have two matching buttons in the colors I needed :(.
Now you can decorate your basket!
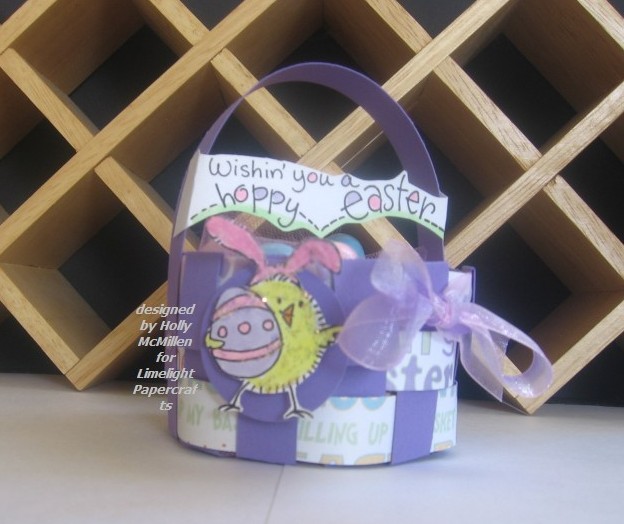
For mine, I created a little arched greeting to span the handle, popped on this adorable little chickie from Stampendous Chick Ears set (Limelight Papercrafts) and added some yummy pink tulle to the inside with even yummier chocolate eggs!
For the other Six Chicks projects see their blogs here:
Deets on my supplies:
Stamps: Chick Ears by Stampendous (Limelight Papercrafts); Sentiment by Stampendous (Limelight Papercrafts)
Colors: Lovely Lilac and Reminisce Easter dp
Ink: Brilliance Graphite Black, copics
Accessories: brads, Lavendar/Pink Sheer Ribbon (Limelight Papercrafts); Fun Flock, stickles, dimensionals, circle punch, scissors, sticky tape, scoring blade
~*~*~*~*~*~*~*~*~*~*~*~*~*~*~*~*~*~*~*~*~*~*~*~*~*~*~*~*~
Oh! And if you haven’t checked out Limelight Papercrafts, you really should! Mandy has a great variety of products to offer and she is such a sweetheart. Her shipping is lightning fast, too!
And here is a little Quote from Mandy:
With each and every order (regardless of amount) through Easter Sunday, Limelight will be sending out a plastic Easter egg filled with goodies! They could be filled with ribbon, stickers, Cat’s Eye ink pads, small stamps, buttons, Dew Drops, Shimmerz, and more! A few will have some “big prizes” written on slips of paper! There will be no rhyme or reason to which egg goes in an order. We’ll keep it as random as humanly possible!
~*~*~*~*~*~*~*~*~*~*~*~*~*~*~*~*~*~*~*~*~*~*~*~*~*~*~*~*~
Was that fun?! Now go make yours :)~
Thanks for stopping by and have a blessed day!!
~~ Holly ~~


eee! this is fabulous, Holly. great tutorial. love how it turned out!
Wow, I love how you made this Holly! Great job, and I love the stamps you used too!
Oh Holly, that looks so hard, but yours rocks! Very sweet!
Oh so cute!
That is really cute Holly! Great tutorial too!
Thanks for the memory rush 🙂 I used to love making these baskets 🙂 May have to do this with my daycare kids as a fun activity – thanks for the inspiration.
Wow! That does look hard! But it looks darling!
Holly that is totally adorable!!!!!
Thank you so much, Holly for sharing your wonderful tutorial!
Wow, that is great! I don’t ever remember making anything like that when I was a kid!
This is fabulous and thanks so much for the tutorial.
Tonya
Great basket and tutorial!
Fabulous tutorial, Holly. I would love to try this, it is so pretty for spring!
Oh Holly this is soo cute…love the tutorial and your inspiration…makes me wanna make one 🙂
You HAD to tell me about the pearls didn’tcha?? 😉 I was previously blissfully unaware of this company…now i am struggling with a wishlist of embellishments that will undoubtedly make my DH cry!!
[…] woven paper Easter basket, it’s pretty done with contrasting […]