~ What’s the Secret? ~
March 30th, 2010 by Holly McMillen
Hello Friends!
I am going to start with an apology. Several of you have asked me questions or made requests for patterns lately and I have not come through. I can only tell you that I have saved all of those requests and hope to get to them as soon as possible. Life has just gotten a bit crazy and I have less and less time to do the fun things. What I really need is a secretary! 🙂
In an effort to cover one of the most asked questions (“How do you make those bows?”), I am doing a little tutorial today. It literally is BOW EASY!

Some time ago, Sharon Johnson (notimetostamp ~ Stamp Simply Ribbon Store) sent me this little piece of oddly shaped plastic and told me this was how she made her bows. It was such a weird looking thing that I tossed it aside and kept on doing things as usual. Well, I was still drooling over the fabulous bows she made, so I finally pulled the thing out and followed the instructions. It really couldn’t be much easier!
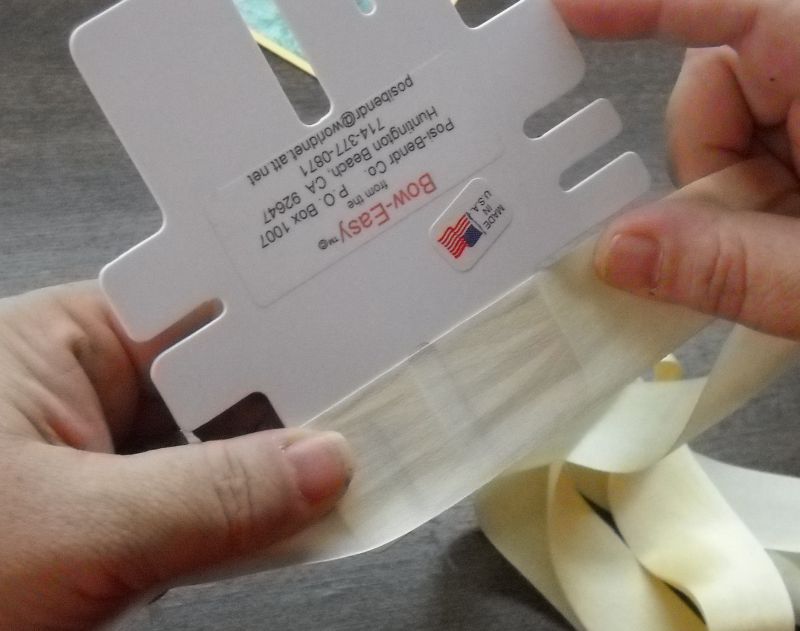
First you decide which side you want to use (for different size bows). Actually, there are two different size Bow Easys. The one I own is the mini. They also have a larger one you can see here. Once you’ve decided on the side you’re using, lay your ribbon across the “legs” with a little tail trailing to the left as seen here:
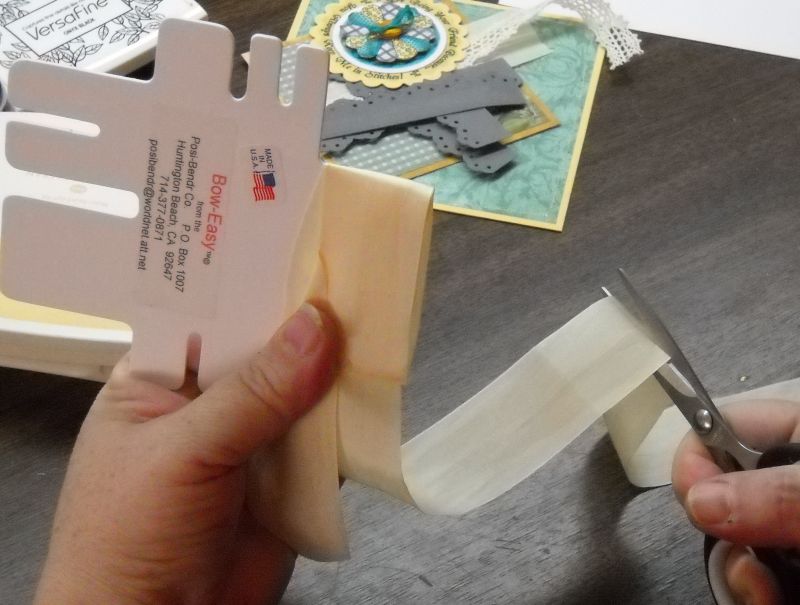
Next, begin wrapping your ribbon clockwise around the legs. If you want a single loop bow, just go once around. If you want double or triple loops, continue around that number of times. Once you’ve finished wrapping, cut a ample length of ribbon (I’d say about six inches) as seen here:
Now take the end you just cut and poke it into the hole between the legs. Grasp it with your right hand and bring it down, then up around to the front as so:

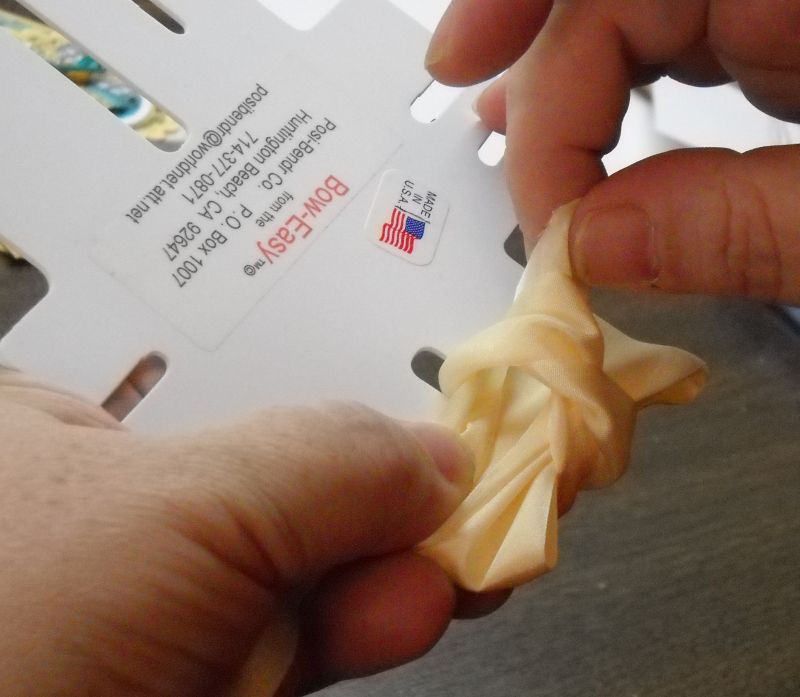
Now tuck the end inside the top layer of the left “leg” and pull to tighten. You will get this:
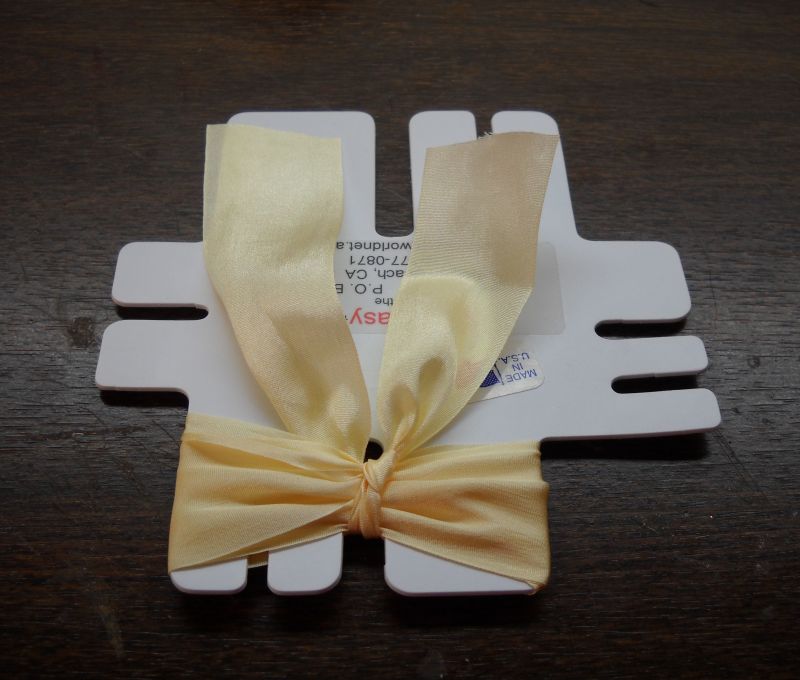
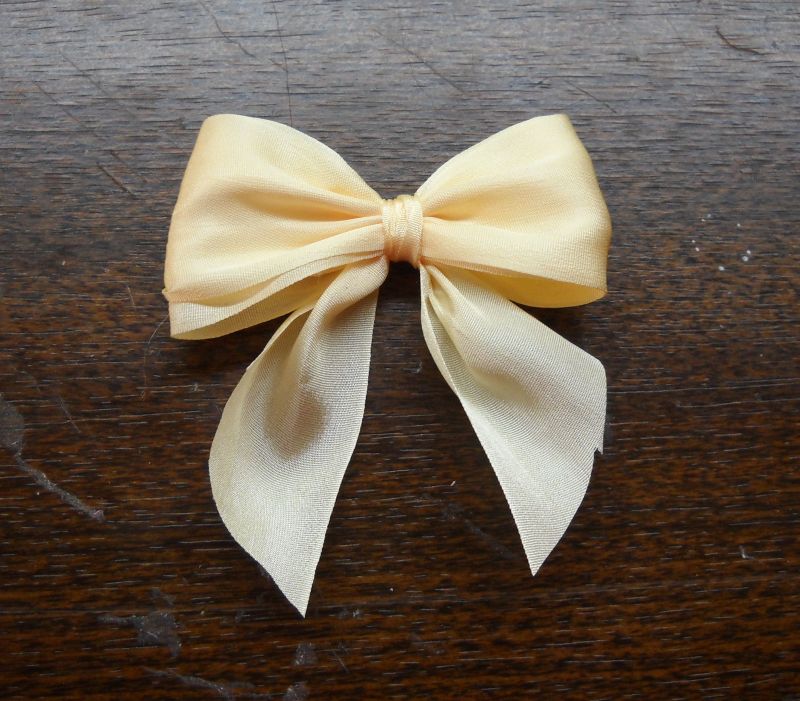
Lastly, cut your tails as desired and then slide the bow off the Bow Easy. Once you attach to your card (I use a piece of Tacky Tape), you can spread the loops on your bow and make them pretty :).
In case you need more visual, you can find a tutorial on Youtube here:
[youtube]https://www.youtube.com/watch?v=Jd1kEmw7F5E[/youtube]
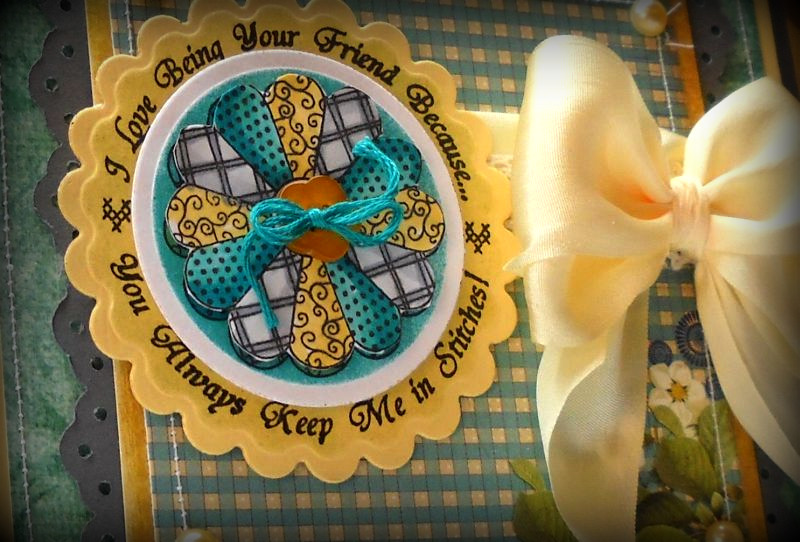
So, I took my freshly made bow and made this card:

It is for today’s Color Challenge on SCS (Basic Gray, So Saffron, Bermuda Bay). Lovin’ these lush colors. They worked perfectly with this JustRite Stitched With Love set from Stamp Simply Ribbon Store. The gorgeous silk ribbon and lace comes from Sharon’s Stamp Simply Ribbon Store, as well.
Here are my deets:
Stamps: JustRite’s Stitched With Love
Colors: Basic Gray, So Saffron, GP White, MME dp (large mat), Webster’s Pages’ Postcards from Paris dp (smaller mat ~ checked), Basic Grey dp
Ink: Versafine Black Onyx, Bermuda Bay (sponged on main image panel, Copics ~ Cool Grays C1, C3, C5; BG49-Duck Blue, BG15-Aqua; YR31 – Lt Reddish Yellow, Y21 – Buttercup
Accessories: Silk Ribbon, lace, kaisercraft 1/2 pearls, stitching, scalloped circle nesties, circle nesties, border punch, button, embroidery thread, tacky tape, dimensionals
~*~*~*~*~*~*~*~*~*~*~*~*~*~*~*~*~*~*~*~*~*~*~*~*~
Thanks so much for stopping by! I hope you have a blessed day 🙂
Hugs,
Holly


Great Tutorial! I LOVE my Bow Easy!
Your card is Super Fabulous……gorgeous in every way!
I have one of those in my room someplace, maybe I’ll go dig it out ;^ ) Great tut! thanks Holly
Oh my goodness!!! I’ve had one of these for, I bet, over 10 years and never knew how to use it. I’ve almost thrown it away so many times….”another tool I’ll never use”. I’m so excited that I’m a pack rat! I followed your steps and I love it! Thanks!
Thanks!!! 🙂
Holly, you card is so gorgeous — and that bow is just FABULOUS!!
This card is absolutely FABULOUS, HOLLY — totally FAB!!! Love it — TFS!!!!
Beautiful card!! Thanks for the video!
Thanks for the AWESOME tutorial Holly! I have a Bow Easy and (blushing) have never used it because I didn’t know how – no excuses anymore right? And your card is GORGEOUS! WHOA! I don’t have any JustRite stamps yet but this set is beckoning…
~Meredith
Very nice video! This is truly an easy-to-follow Bow Easy tutorial! Love it!
I was the first to your blog. I like it here. I will often come to.