~ Revisiting No-Line Stamping ~
February 7th, 2016 by Holly McMillen

I was introduced to this type of stamping several years ago by a friend. I played around with it and really
loved the effect. I still have one of the images that I stamped and colored on my desk.
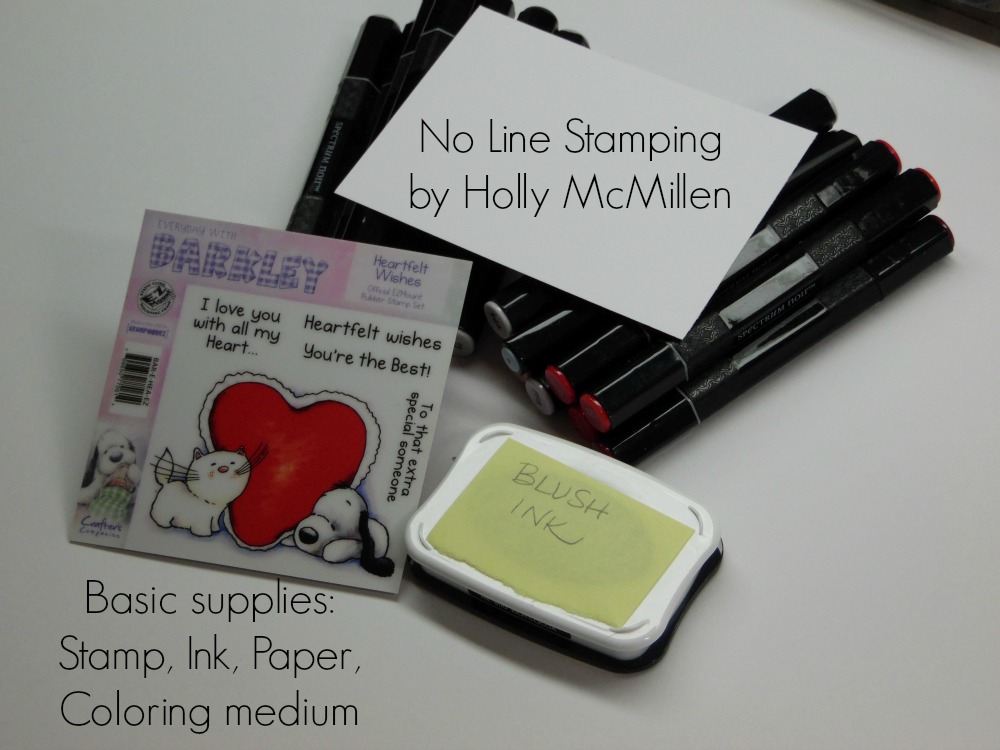
The idea is to stamp the image so that it’s barely visible on the paper. For this image I stamped in a blush (very light
pink). If it’s difficult for you to see, you can stamp the image on a piece of acetate and use that over your image
as a guide.
The result is a nice soft image.
Supplies needed:
Play around with what works best for you. I, personally like to use the lightbox, but it is cumbersome to have that on my desk.
Step 1:
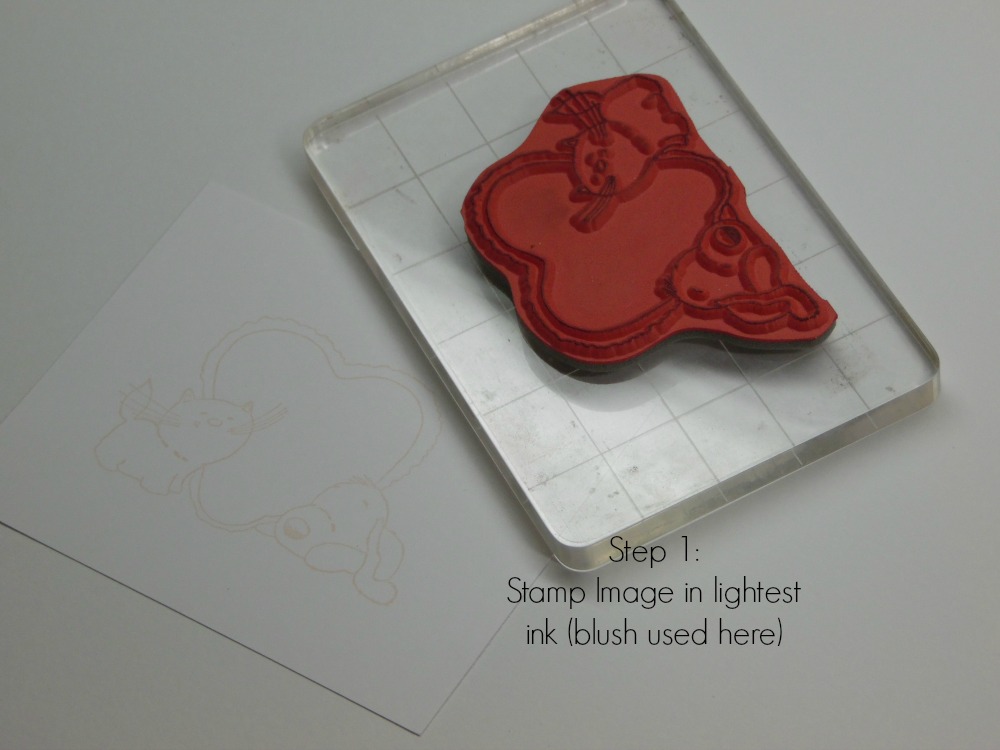
Stamp your image on your favorite cardstock. I have NOT tried this technique on colored cardstock. Give your ink time to dry. Even light ink can run!
Step 2: (Option 1)
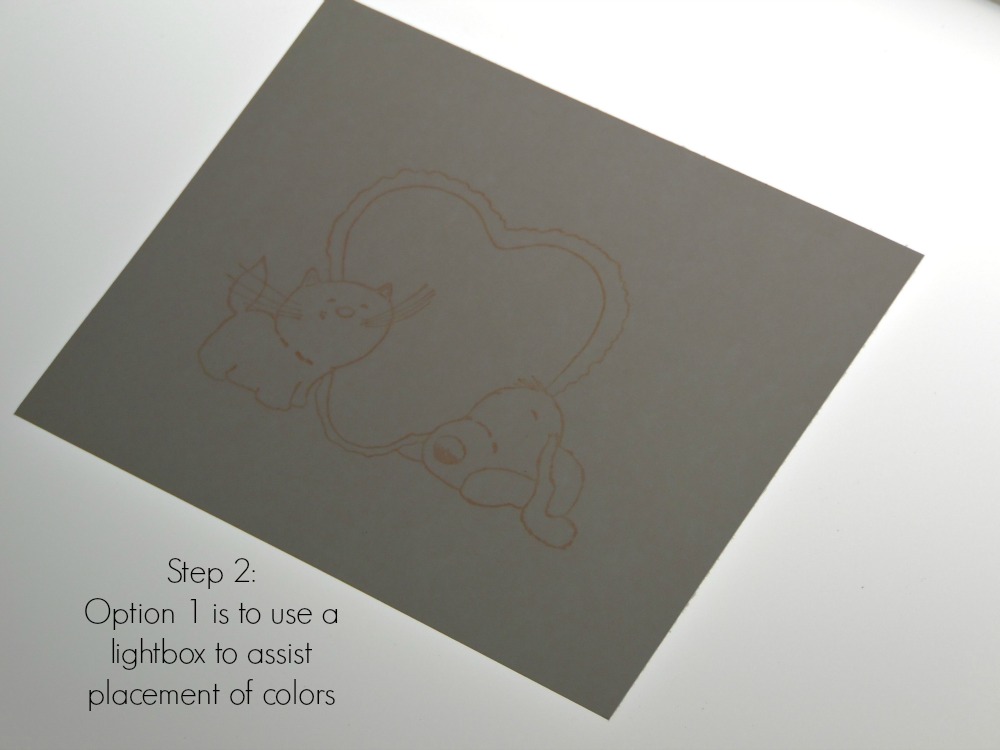
It’s very difficult to take a picture of a lightbox! In reality, the image shows through quite well. One advantage of using the lightbox is that you can easily move the image around.
Step 2: Option 2
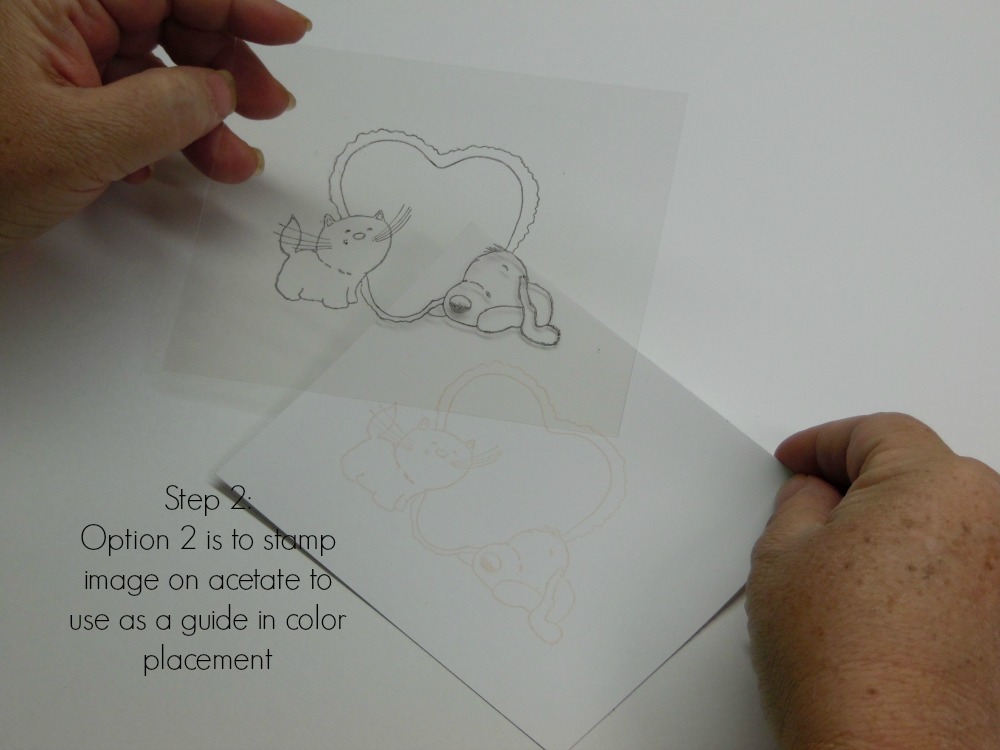
Your second option is to use a piece of acetate. Stamp the image in the pale ink first. Cut the acetate to the same size as your image piece. Stamp the image onto the acetate with black ink.
Step 3:
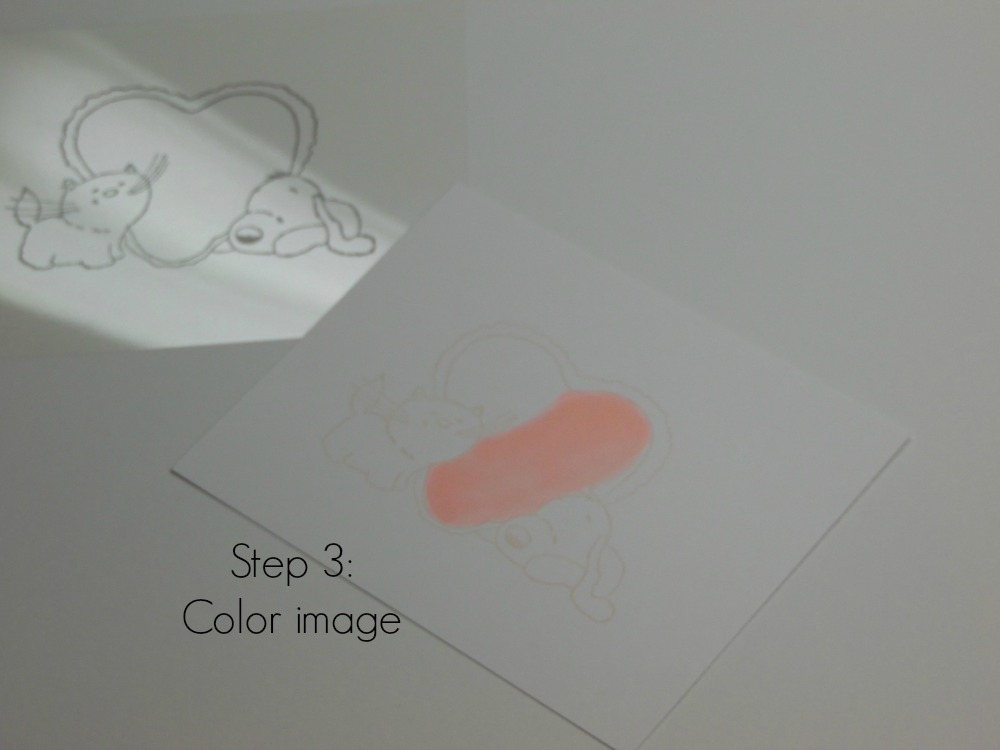
Color your image. If you use the acetate method, I suggest you check your progress frequently by moving the acetate over your image.
Finish:
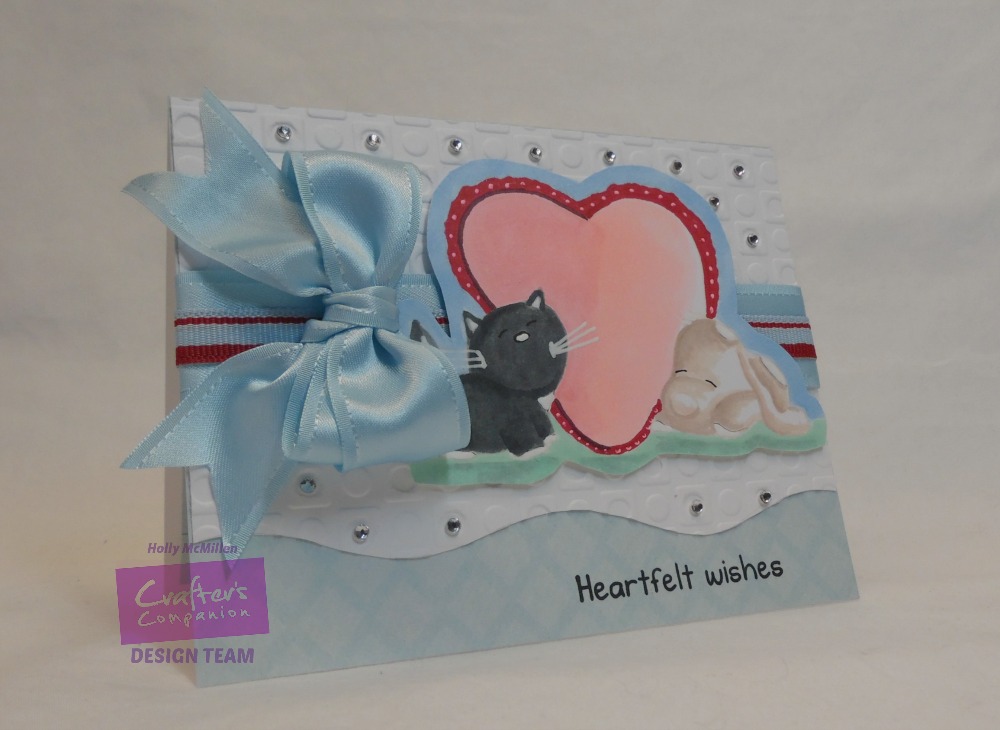
Turn your finished image into something beautiful!!
I used:
Barkley Rubber Stamp Everyday Set – Heartfelt Wishes
Everyday With Barkley 5″ x 7″ Embossing Folder – Dottie
Memento Pad – Tuxedo Black
Spectrum Noir markers -DG2, DG3, DG4, PP1, PP2, GB2, GB5, GB8, CT4, BT7, BT9, DR3, JG6
*~*~*~*~*~*
Hope you’ve enjoyed your visit! Drop by again soon!
~Holly

